Tuesday, May 11, 2010

Boxes go up!

The bed is now filled with gravel and leveled.  I added a big piece of
flagstone (left over from the patio job a few years ago) under the down
spout as a slab that the rain barrel will rest on.   I plan on building
a base of cinder blocks to elevate the rail barrel to a position where
it can gravity feed the garden via a soaker hose.   I can finally put
in the raised bed kit I ordered a few weeks ago.


Cedar planks being used for the boxes.


I like the clean look of the cedar and gravel.  The planks are pre-drill and simply
staked into the ground.

Friday, May 7, 2010

Decision is made to use the smaller pea gravel.  Its just
more appropriate for decorative gravel beds.  The drainage
gravel would make it look more like a civil engineering project. 

Ordered up a pallete of 36 bags from Home Depot.   I thought
I was ordering 2 cubic yards, which Barnaby, our landscaper,
had recommended.

But I did the math wrong at the store: one bag is .5 cu feet,
and there are 27 cu feet in 1 cu yard.   27 divided by .5 is of
course 54 bags.   So whatever I was thinking, I now have
1.667 cu yards of gravel sitting in the driveway.  I hope its
enough--it sure looks like enough.


Seedings waiting to be planted.   The giant
in the blue container is a pumpkin plant.


Store bought on the left,  grown from seed on right.


A pallette of pea gravel from Home Depot.


Thursday, May 6, 2010

NY Times article on vertical gardening

I've yet to stake a tomato plant, but for those looking
to take vertical gardening to the next level, check out
these people.

http://www.nytimes.com/2010/05/06/garden/06vertical.htm

Sunday, May 2, 2010

Construction, Day 2


The next day, Sunday, I finished excavating the full bed.  I then
went to Home Depot and bought 2 bags of natural gravel, because
they had both drainage gravel and pea gravel.  I poured two little
piles next to each other and am trying to figure out which look
to go for.   


The fully excavated bed (shallower this time to save gravel).  
The rest of the fabric is staked in and the remaining white 
gravel added for underfill.  I'm still going toneed to buy 
A LOT of gravel.


The natural gravel looks much better against 
the fieldstone wall of the garage.  Now have to 
decide which size stone.  The larger drainage stone
is closest to camera.


Saturday, May 1, 2010

Construction, Day 1

The location on our property that has the best potential for a 
garden is along the south facing wall of the garage, not far from 
the kitchen door.  Despite tall trees and rooflines, it manages to 
get sun for 10-12 hours, from May thru August.   

I was told to put gravel under the wooden planks of 
the raised beds to keep them from sitting on wet ground, so 
I decided to build a cool curved gravel bed as a first step.  We
had five buckets of white pea gravel sitting in the garage, so I 
was hoping I could have the whole job done in a day, with
materials on hand.

Ground is broken on the gravel bed.  It will be excavated
to the line made by the garden hose.

Ok, not enough time today to dig out the whole bed, so 
for now its just the area where the 6x3 box go.

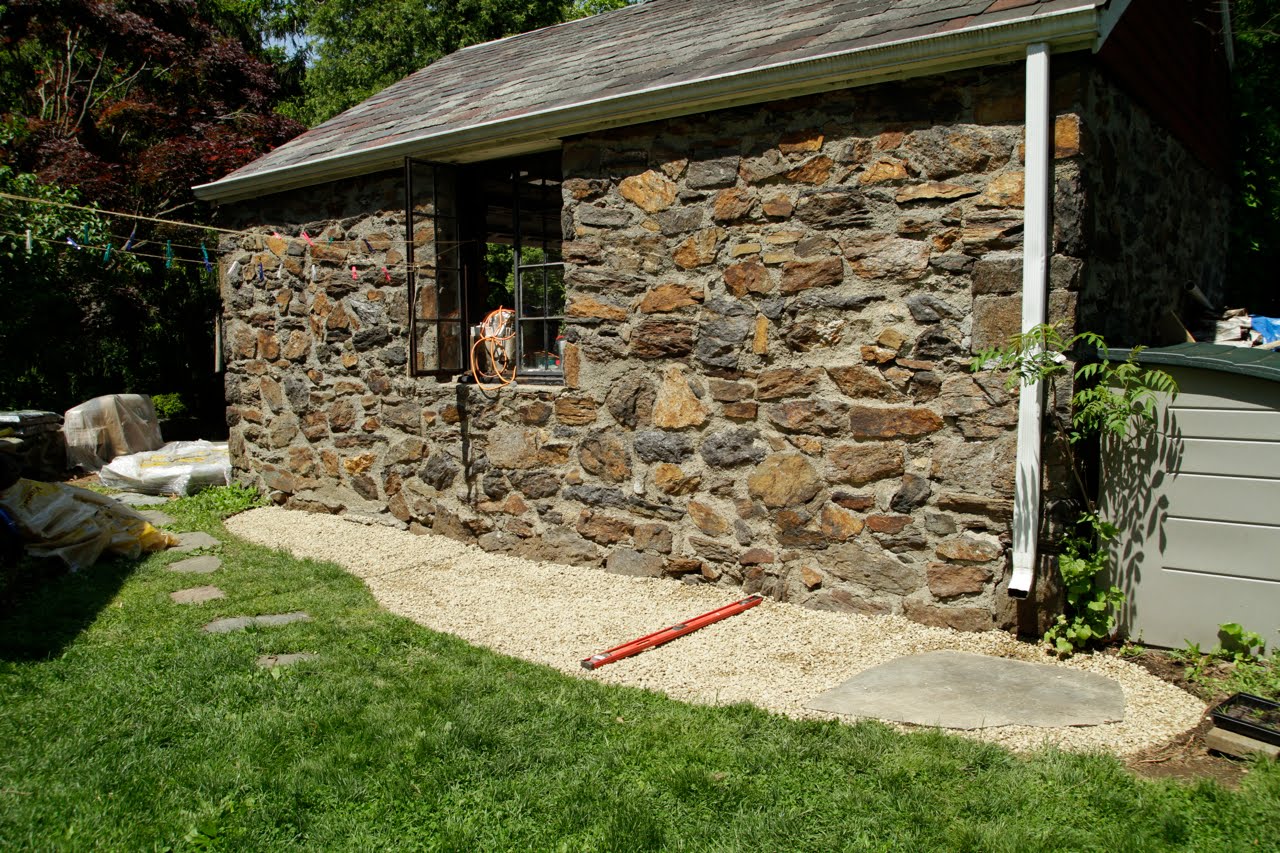
Threw in some weed fabric and white pea gravel we had 
lying around.  Honestly, I think it looks terrible.   Plus, it's 
apparent I underestimated my gravel needs by a factor of 
five or six.   Frustrating end to the day.